‘The Elder Scrolls: Blades’ Guide: What You Need to Know to Play for Free
Despite the very real danger of having their adventuring careers cut short by taking a projectile to a leg joint, millions of fans have already made The Elder Scrolls series a true RPG phenomenon on consoles and PC. Bethesda turned some heads at E3 2018 by introducing a mobile installment called The Elder Scrolls: Blades (Free), and after some delays, it’s finally here … sort of.
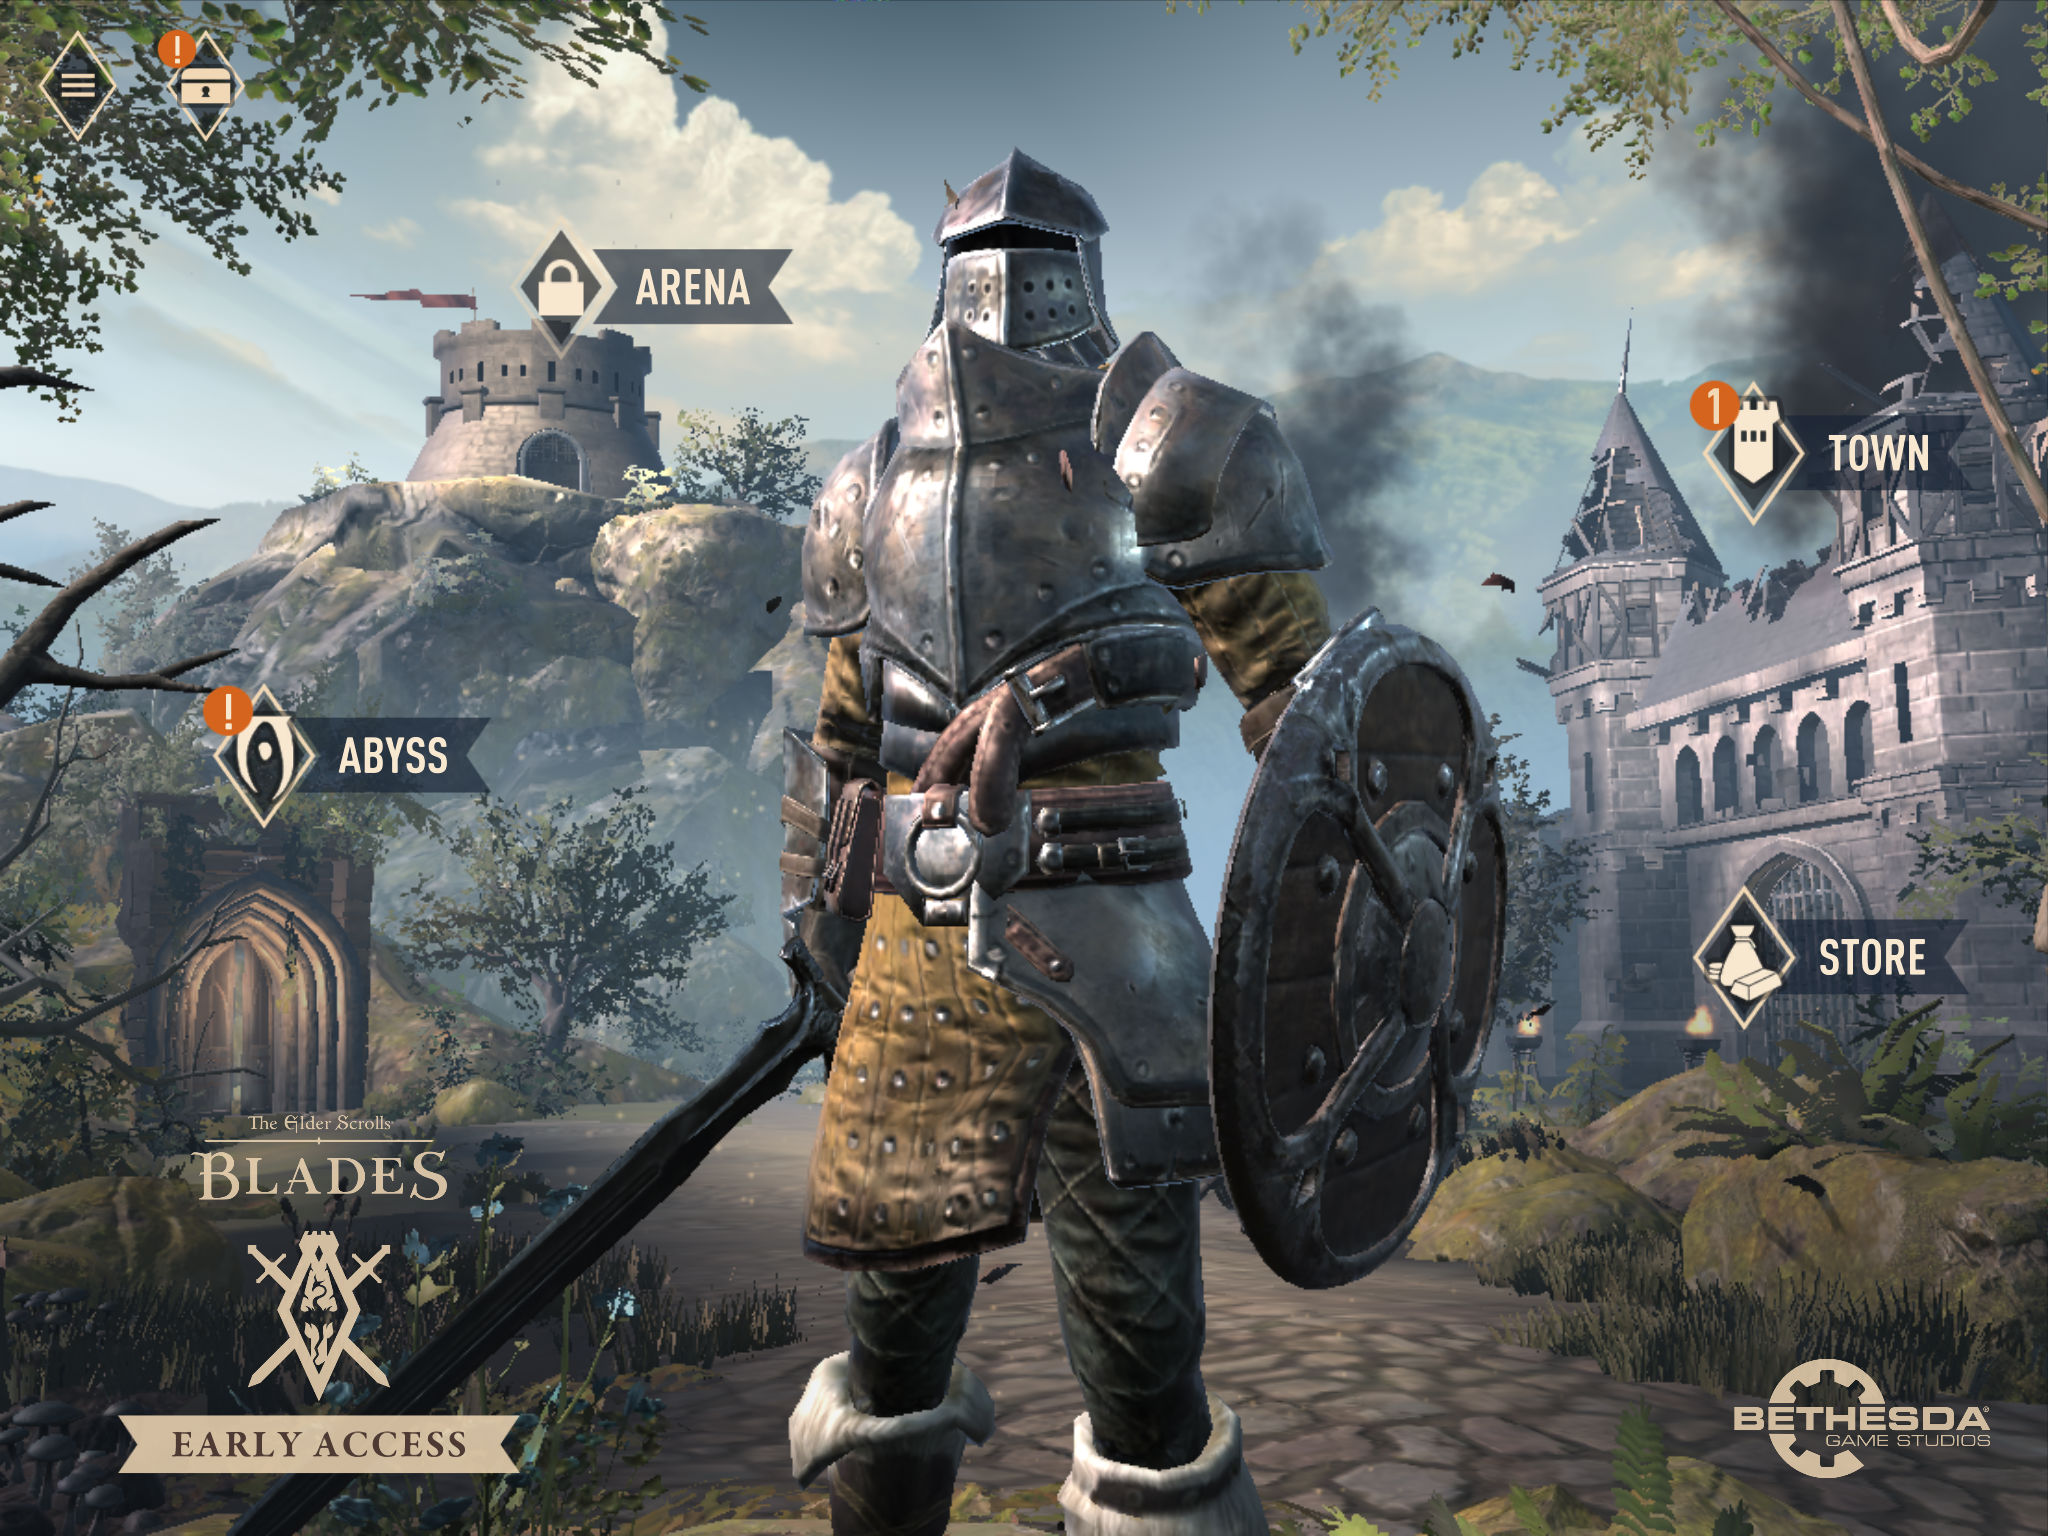
At the time of this article, the game is currently in Early Access, meaning you can download the game and register with Bethesda for permission to start playing. Once you get a notification that you’re good to go, you can jump in and start exploring this particular slice of TES lore.
Why would you want to? Well, for starters, The Elder Scrolls: Blades actually feels like a game that belongs to the main series, an impressive first-person RPG experience with all the flavor you’d expect. It does have some distinctly mobile touches, which we’ll get into shortly, but first you’ll need to know if you can actually play it, even after Early Access ends.
Which devices support The Elder Scrolls: Blades?
Blades is a pretty hefty game from a graphical standpoint, so not just any device can handle it. Here’s a list of what devices are definitely supported, though it’s not necessarily a comprehensive one since there is also an ‘Other’ option upon sign-up:
- iPhone (X, XS, XS Max, XR, 8 Plus, 8, 7 Plus, 7)
- iPad Pro (current and both 2018 models)
- iPad Mini 5
- iPad Air 3 and iPad Air
- Galaxy S9, S9+ and Note 9
- Galaxy S10 and S10+
- Galaxy S8 and S8+
- Pixel 2 and 2 XL
- Pixel 3 and 3 XL
- HTC U11 and U12+
- Huawei Mate 20 Pro, P20 and P20 Pro
- OnePlus 5 and newer, including 6T
- Moto Z2 and newer
- Essential Phone
- LG V30 and G7 One
- Xiaomi Mi 6 and Mi Mix 2
- Xperia XZ Premium and XZ1
- Razer Phone
- ZTE Nubia Z17
- Nokia 8
- Sharp Aquos R
- Asus ZenFone 4 Pro
Blades Basics: How to Move, Fight, and All That Good Stuff
So we’ll assume you have a phone or tablet that lets you play and are either in Early Access or reading this after the game has launched. Congrats! Now let’s get you squared away on how to get going.
If you’re playing in horizontal/landscape mode, you move by either tapping on where you want to walk or holding down on the left side of the screen to use a floating virtual thumbstick. Either way, you can hold and drag on the right side of the screen to look around. NPCs you can talk to and objects you can interact with will have icons near them, and you simply tap on those to approach and interact. Items you can grab will flash or glow slightly and you just tap on those as well to pick them up.
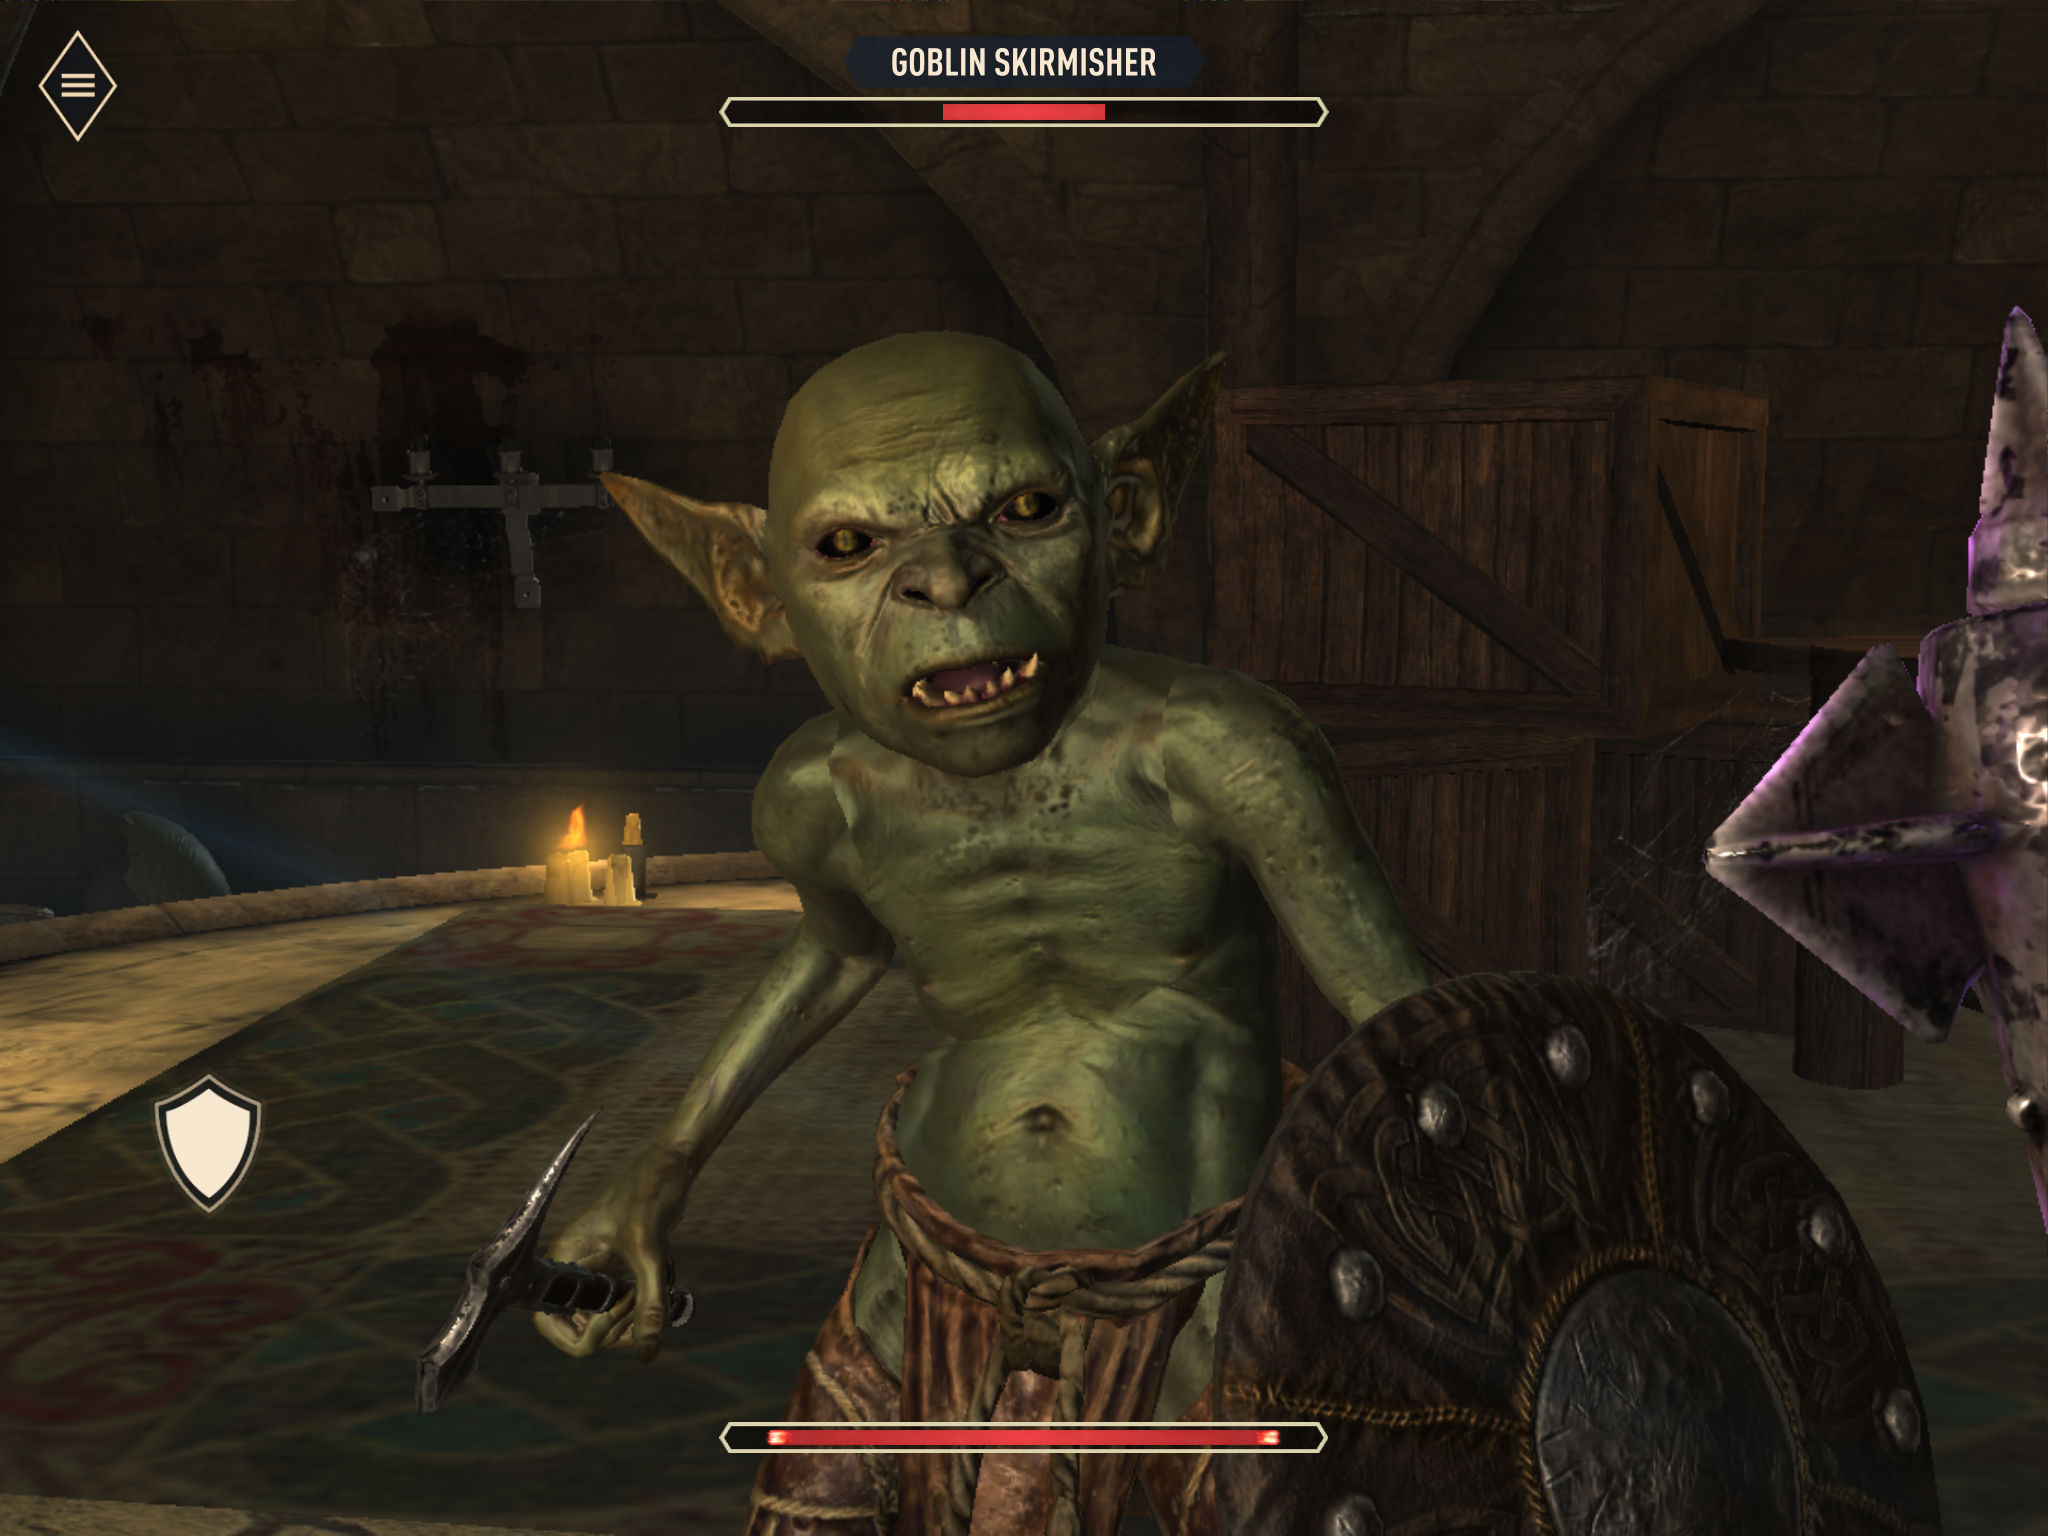
Combat begins when you either get close enough to an enemy or one notices you and runs up in your grill. To attack, you hold down on either side of the screen and release to swing your weapon. There’s a surprising amount of strategy involved; not only are you trying to time it for when the enemy’s guard is down, but your chances for a critical hit also increase if you release right when the circle that appears on the screen when you are holding down is completely full. Multiple successive hits without an opponent blocking or dodging grant you bonus combo damage.
If you have a shield equipped, a button for it will appear on the left side of the screen. You can hold down to block incoming attacks, but if you time the block for when the enemy is in mid-swing, it will reduce the damage even more (sometimes even completely) and slightly stun your foe, leaving them open for a counterattack. Once you’ve leveled up a bit and learned spells and abilities, there will be buttons for those as well, with the former on the left and the latter on the right.
One of the nifty part of The Elder Scrolls: Blades is that you can also play it in vertical/portrait mode. If you do so, the controls are more or less the same, except you have to tap to move —no virtual stick. The combat buttons are in slightly different locations as well, most notably the shield button, which will be right in the middle of the screen toward the bottom.
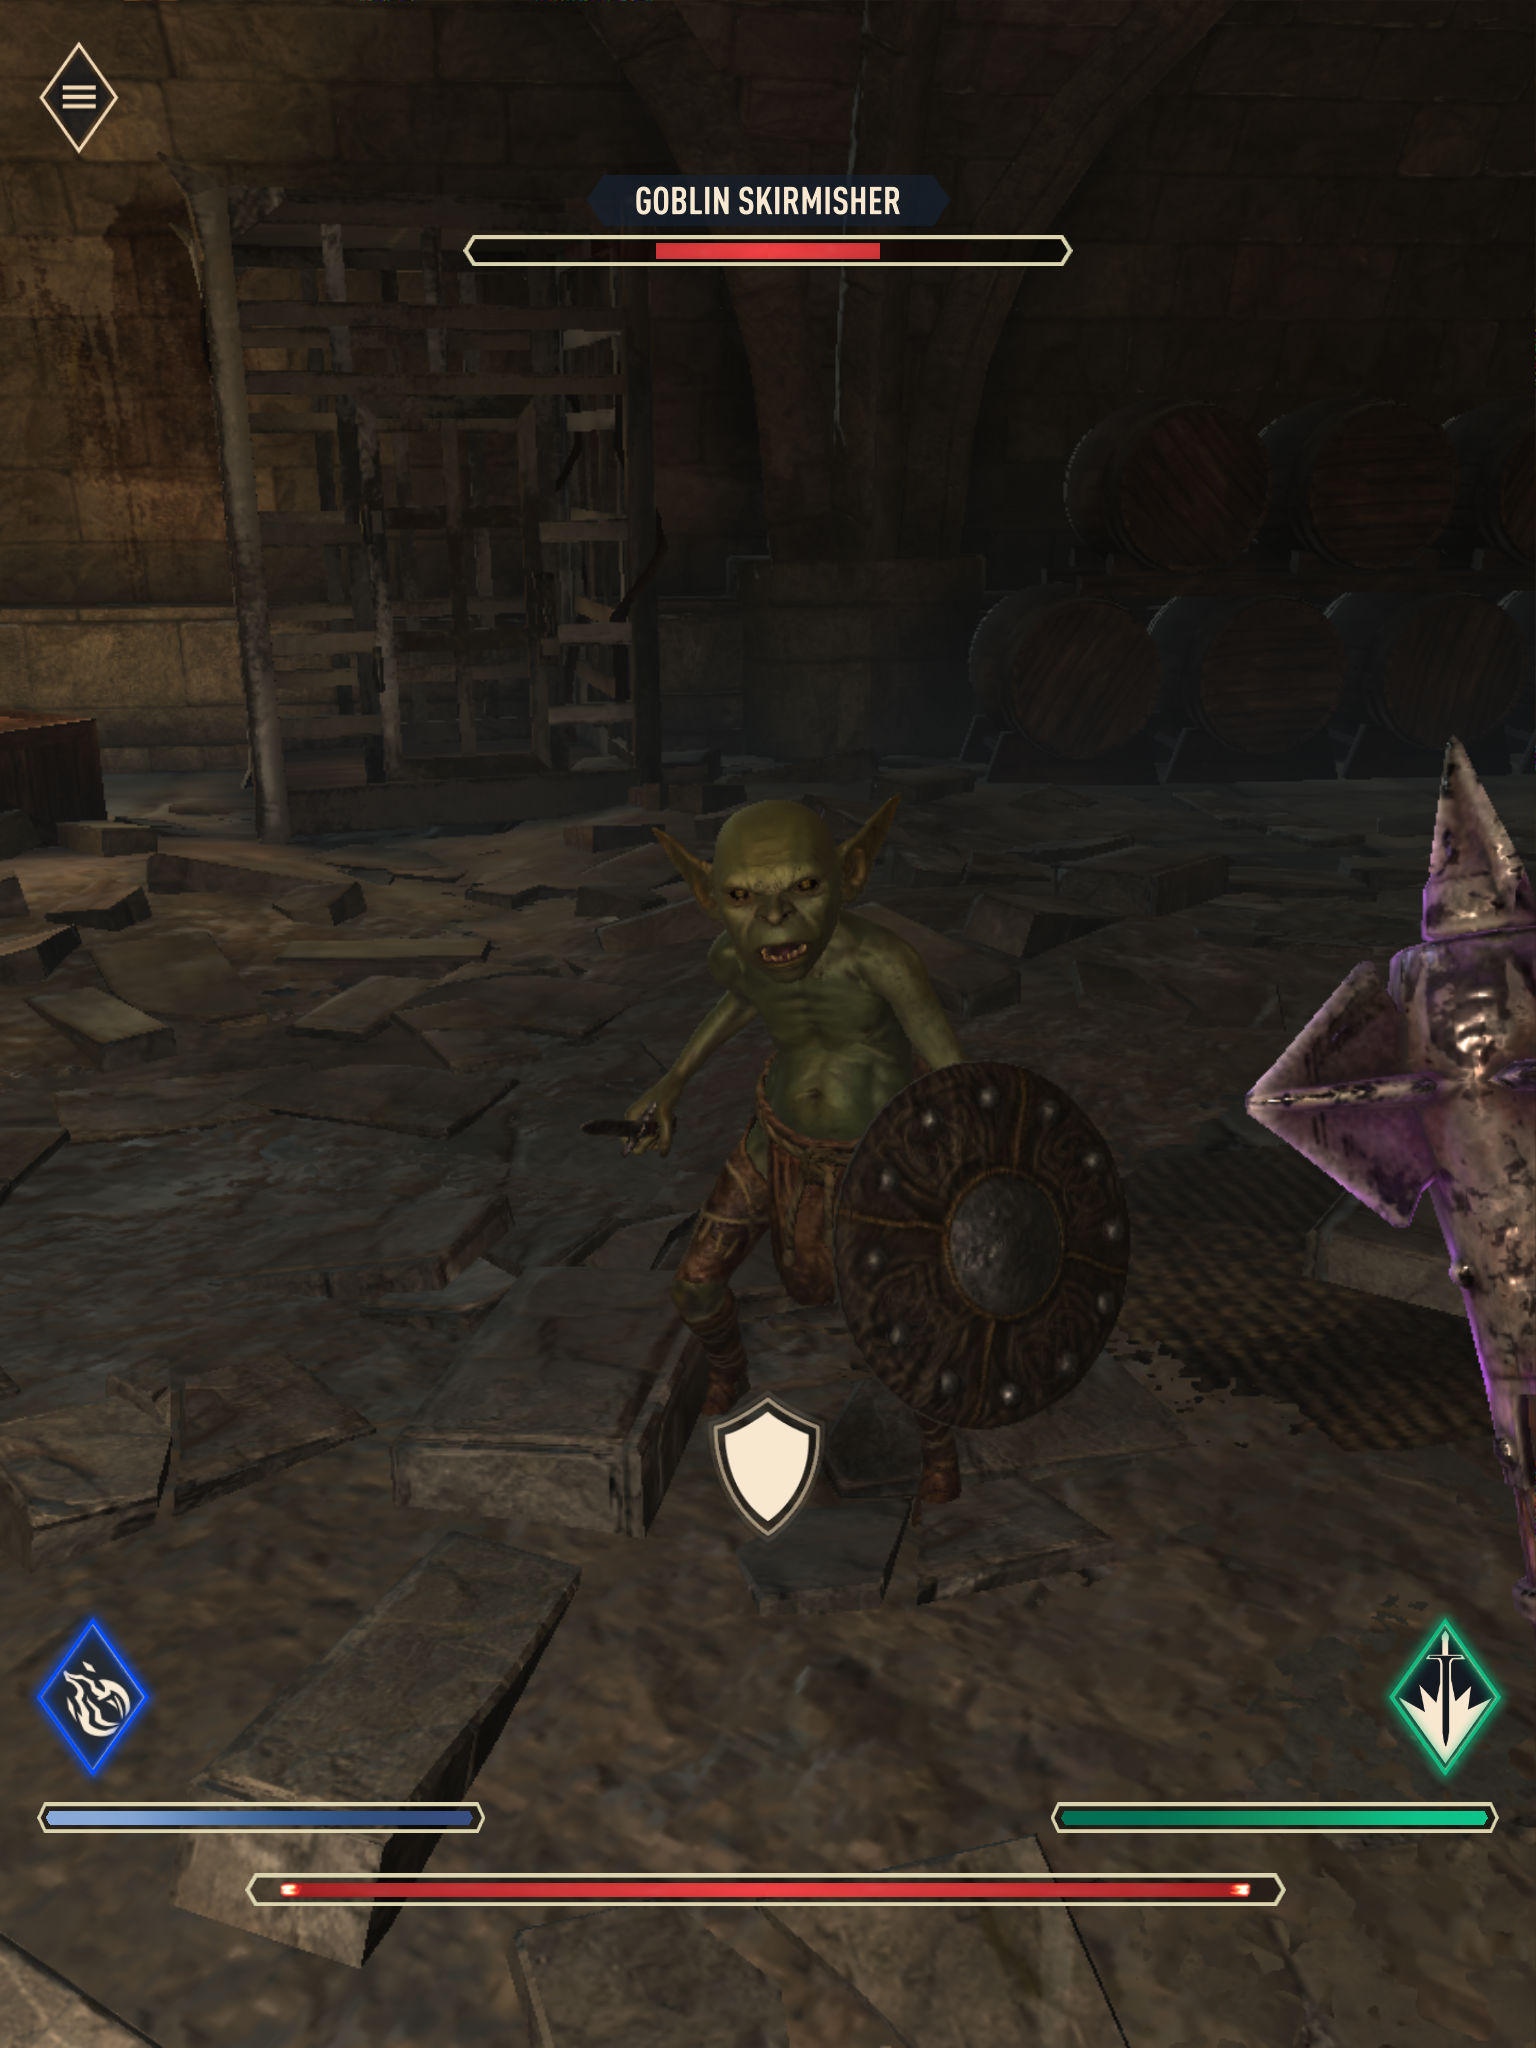
Bonus tip: Worried about healing because there’s no way to access your potion inventory during a fight? Don’t sweat it. When you’re low on health, you’ll see a button appear right above your health bar that you can tap to down a potion and keep yourself alive. If you do die, you can revive with full health, stamina and magicka with a scroll, but there’s a limit to how many you can use per quest.
Oh the Places You’ll Go: Quests and Jobs
Once you’ve gone through the tutorial, you’ll be unleashed upon the world. Unlike most Elder Scrolls games, Blades isn’t an open world experience, but you’ll still have plenty of options for what to do next.
That’s because even though you can’t just go wandering around the countryside, you’ll always have a selection of Quests and Jobs from which to pick. You can access them from the main menu (the hamburger button) or jump directly to them using the exclamation point icon.
Quests drive the narrative of the story forward. Jobs are essentially side quests that you can tackle, some of which are available at any time while others rotate on a daily or weekly basis. They’re good for gathering materials to craft gear or to build or upgrade the structures in your town, which we’ll talk about a little later.
Both Quests and Jobs have a difficulty level relative to your current level and overall gear strength that let you know approximately how difficult they are. Obviously, you’ll want to be well-stocked with consumables if you’re going to dive into a 5-skull affair.
Every Quest and Job is instanced, so you simply tap on the one you want to take on and hit the ‘Start’ button, and off you go. In that sense, Blades has taken away what is often the worst part of fantasy RPGs, which is traveling from place to place.
It Used to Be Her Town: Fixing Up Your Town
One of the more mobile-y (a word I just made up) aspects of The Elder Scrolls: Blades is the town that quickly becomes you base of operations. Not that it’s too unusual for that to be the case in a fantasy RPG, mind you, but the way you gather resources, pay gold to build or upgrade buildings and benefit from the improvements will feel very familiar to mobile gamers.
The town is, to be blunt, a hot mess when you first inherit it. All the buildings are wrecked, and really the only things still intact are the outer walls. You’ll meet and help the Smithy in the first few Quests, which will set you on your way to fixing things up.
The town has various plots on which homes or businesses can be constructed, along with small, medium and large spots to place decorations. Housing and decorations are necessary to raise the Prestige level of your town, which in turn allows you to further upgrade the businesses and also unlocks more of the story-driven Quests that advance your overall progression in Blades.
Here are the different businesses you can build in your town:
- Smithy – The place where you can buy, sell, salvage and improve your weapons and armor. Upgrades allow you to work with a wider range (read: better materials) to craft gear.
- Alchemy Laboratory – Sells potions and poisons, as well as the ingredients needed to craft some for yourself.
- Workshop – In case you want more decorations for your town than the ones you’ll discover while questing, this is the place to craft them. Plus it sells construction supplies, good for crafting decorations and building or upgrading other structures.
- Enchanter’s Tower – Turning regular items into magical items is what this place does. Sweet.
Bonus tip: All buildings except for the housing take two adjacent lots to build. That limits the places in town where you can plop them down, and also means you don’t want to be building housing in those locations until you’re sure you have room for the good stuff.
Chest to Chest: How to Get Your Loot
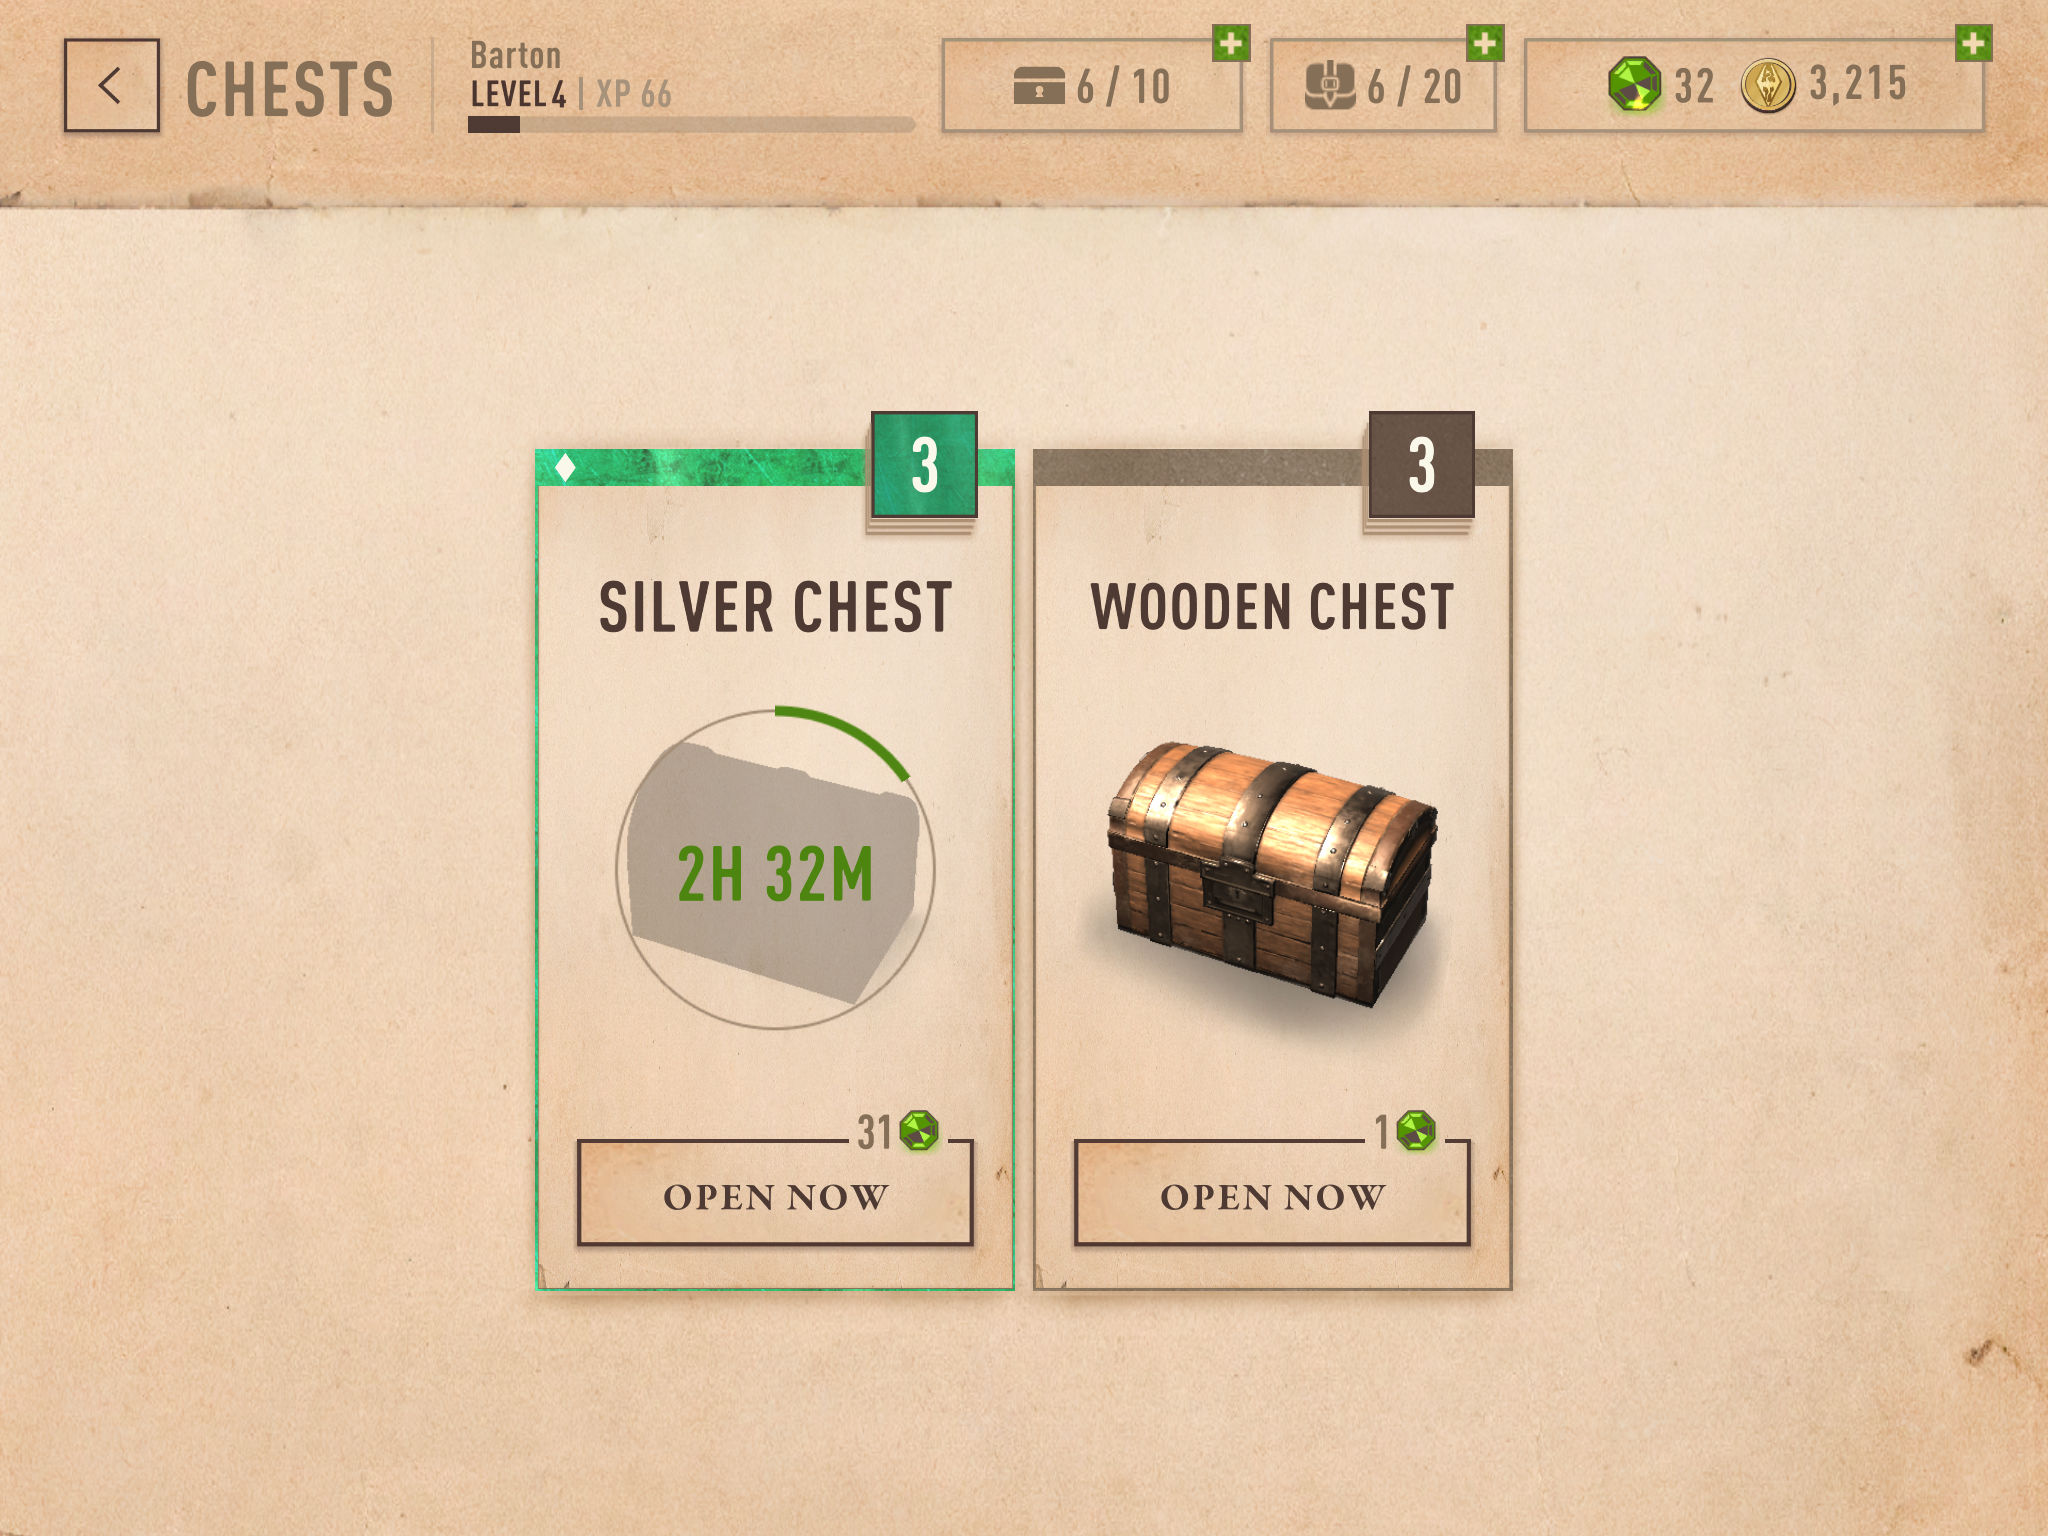
Even before the whole world gets access to The Elder Scrolls: Blades, I can already guess this will be the part that annoys people who don’t play mobile games that often. During your adventures, you’ll find chests containing gold, weapons, armor, consumables, and building supplies. Sometimes they will just be sitting around, and you will also receive chests as quest or job rewards. That’s the good news.
The bad news is that chests take time to open (maybe the in-story reason is you need to lockpick all of them?), the better chests take longer, and you can only work on opening one of them at a time. Longtime mobile games won’t find this surprising in the least, but the rest of you might.
Also, you can only keep 10 chests total in your inventory at one time, though you can spend premium currency to increase that total. That means you’ll almost certainly have chests stacking up if you are working on opening a good one that takes several hours, so the chest system works as a de facto limit on your gaming sessions.
There is something you can do about that, though, which is a good segue to the next section …
Gems, Huh, Yeah, What Are They Good For?
Not absolutely nothing, that’s for sure. Au contraire, Gems are the currency that makes it all happen in Blades:
- Speeding up the opening of chests, at the rate of 12 Gems per hour, plus fractions thereof. You can use Gems to open up chests even when one is on a timer waiting to open, which is nice. The play here is to clear out your inventory of standard chests at 1 Gem apiece while a better chest is pending. Or at least that seems like a helpful tactic.
- Straight up buying chests from the in-game store, with the price depending on what kind of chest it is. The better the chest, the more Gems. You know how this goes.
- Speeding up construction times for buildings, whether erecting them anew or upgrading them.
- Buying missing crafting or construction ingredients. This seems like the least wise use of Gems, because you can buy more ingredients for gold or just go on a Job to get more. My personal recommendation is not to ever do this.
To sum up, Gems help speed up just about anything you need to do in the game, substituting for time. They don’t help make you more powerful except in the case of direct purchases of chests, and even then you are at the mercy of the whims of the RNG generator to determine whether you get something amazing.
Gems can be purchased for real money, and are the main way Blades is monetized. For ways you can avoid paying for them, keep reading.
How to Get Free Gems in The Elder Scrolls: Blades
So you’d like more Gems but don’t want to pay for them. That’s a perfectly understandable mindset. It’s also not crazy, because there are a few ways to get them for free.
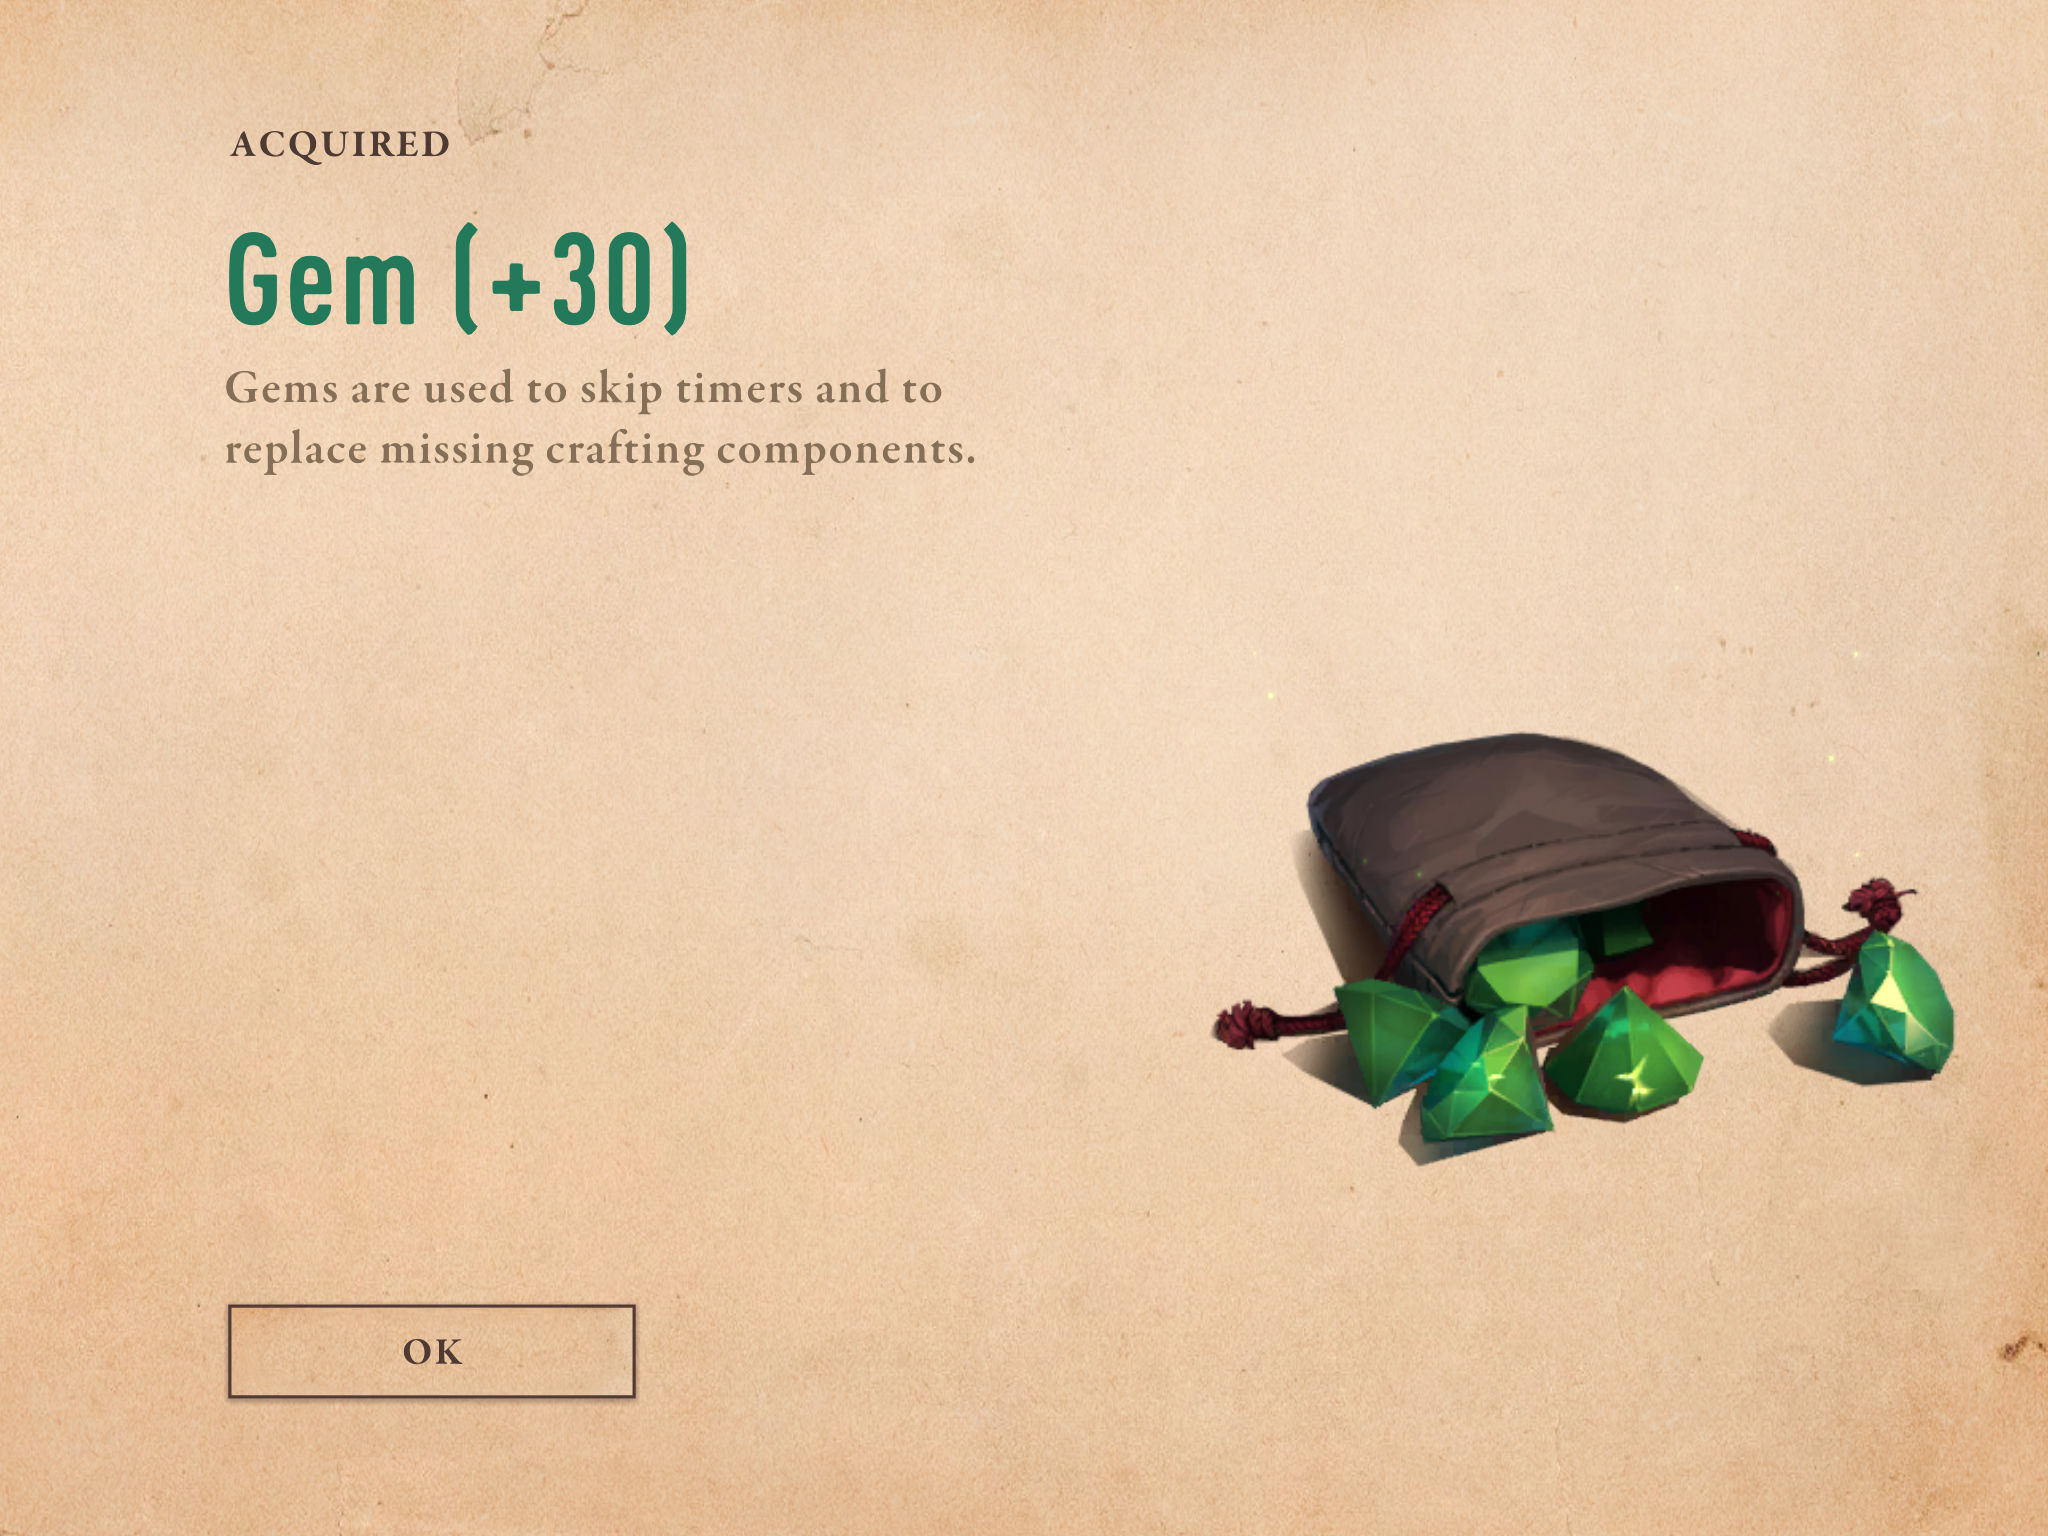
Let’s walk through them together:
- Find them randomly in dungeons. This is the most serendipitous but least reliable method of finding free Gems. In classic RPG fashion, there are plenty of jars, crates and whatnot that you can smash, and they flash/glow so you know they are breakable. Every now and then, a Gem will pop out. You’re welcome.
- Level up. Every time your character levels up, you get rewards. Sometimes these come in the form of Gems, and a decent amount. How does one level up, you might ask? You earn XP for defeating enemies, but it’s faster to get XP by completing Quests or Jobs. Much faster.
- Complete Quests, Jobs, and Challenges. Actually, I’m not as positive about this. But it stands to reason that over time, there will be Quests and Jobs, in particular, that give out some Gems. We’ll see.
- Play the Abyss and Arena modes. This is more speculation, but it feels sound. Abyss is the game’s endless dungeon, where there are no healing consumables laying about and you simply see how far into the depths you can descend, with better loot gained the longer you can stay alive. The Arena PvP mode isn’t even available in Early Access, but I’d be shocked if you couldn’t earn Gems on a seasonal basis once it is.
Komentar
Posting Komentar